Stream processing: Sinfonier Topologies
Content:
Topology
Sinfonier is based on a simple four step way.
- Choose modules from the list
- Design a topology
- Start your topology
- Check your topologies and view the logs
After you are logged on Sinfonier it's very simple to start the creation of a new topology, just go to the editor or click the button “New topology” placed in the topologies section, it will redirect you to the editor. Once there, you can start to create a new topology.
You can see all your topologies and Public topolgies on "Topologies" section.
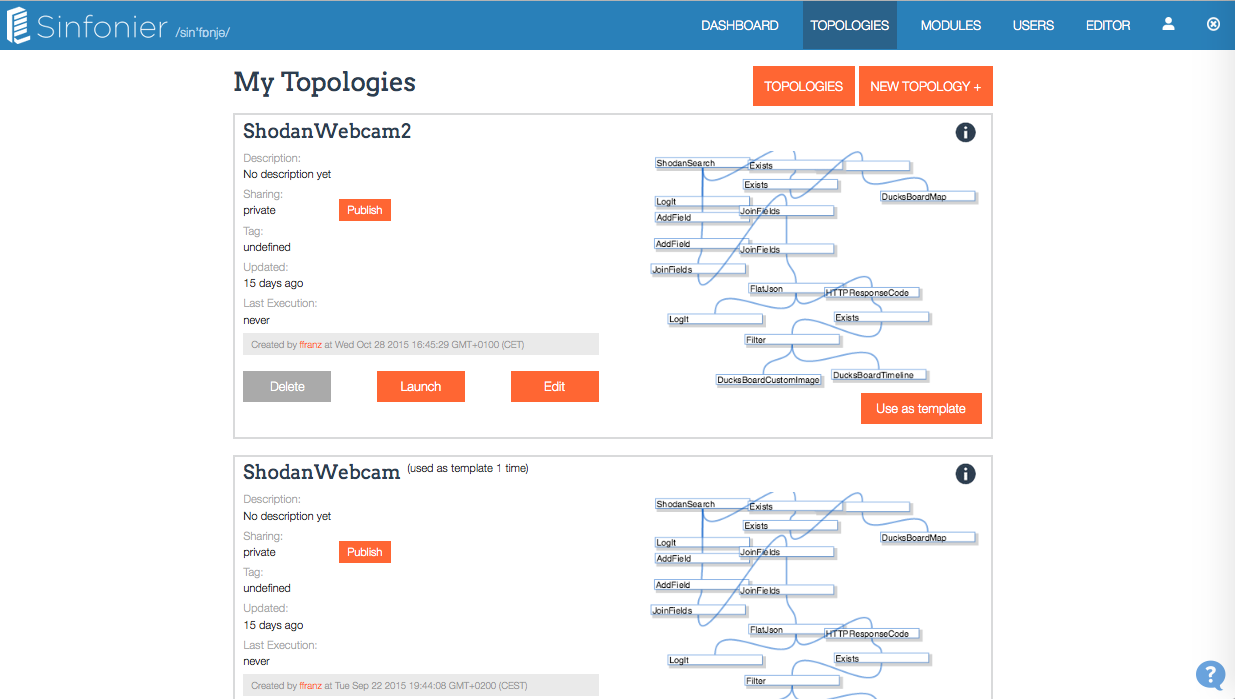
Topology templates
All modules on Sinfonier should be publish sometime but not topologies. Topologies will be publish if users want to publish them.
Why to publish a topolgy? Just to help community users to create new topologies easily. What is sharing on my topology? When your topology is shared only includes how modules are connected. Templates not include modules params. When I use "Use as Template" on my topologies all modules params are included Sure! If you are using your own template your params are included. This feature allow you to fork your work easily. (We didn't use "fork" word in order to be friendly with nont technnical users.)
First Topology
Modules
As you read on modules section, Modules are the core of Sinfonier. Each one makes a job, join together makes a complex processing system... and shared they are an collective intelligence.
Add modules to MyTools
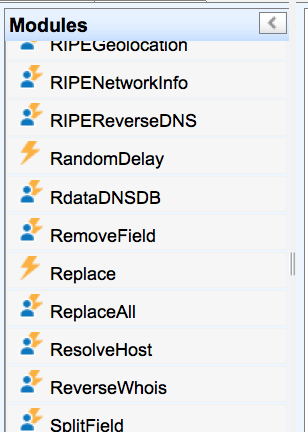
Your first job is search modules you'll need in your topology on "Modules" section. When you find the module that does what you need it's time to add it to your tools. To know what a module does just check details by clicking the name.
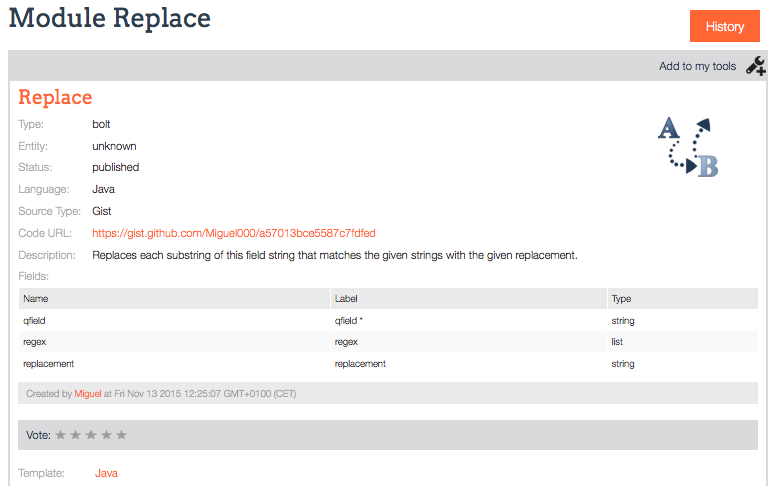
Description should be include all information you need, if not you can check source code using Gist link.
In this point you're sure the module should be in your tools. By clicking on "Add to My Tools" module will be available on your editor.
The figure below shows the module on the editor ready to be used
Gathering
RSS & FEED
RSS is a lightweight, multi purpose, extensible metadata description and syndication format. RSS is an XML application. RSS is currently used for a number of applications, including news and other headline syndication, weblog syndication, and the propagation of software update lists. It is generally used for any situation when a machine-readable list of textual items and/or metadata about them needs to be distributed.
<?xml version="1.0" encoding="UTF-8" ?>
<rss version="2.0">
<channel>
 <title>RSS Title</title>
 <description>This is an example of an RSS feed</description>
 <link>http://www.example.com/main.html</link>
 <lastBuildDate>Mon, 06 Sep 2010 00:01:00 +0000 </lastBuildDate>
 <pubDate>Sun, 06 Sep 2009 16:20:00 +0000</pubDate>
 <ttl>1800</ttl>

 <item>
  <title>Entry title</title>
  <description>Here is some text containing an interesting description.</description>
  <link>http://www.example.com/blog/post/1</link>
  <guid isPermaLink="false">7bd204c6-1655-4c27-aeee-53f933c5395f</guid>
  <pubDate>Sun, 06 Sep 2009 16:20:00 +0000</pubDate>
 </item>

</channel>
</rss>
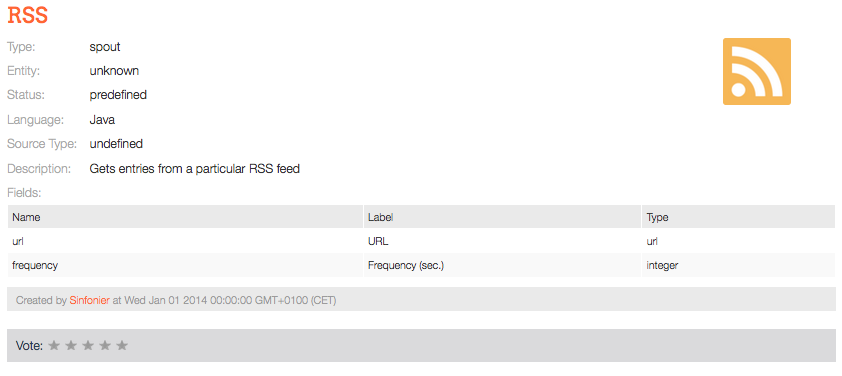
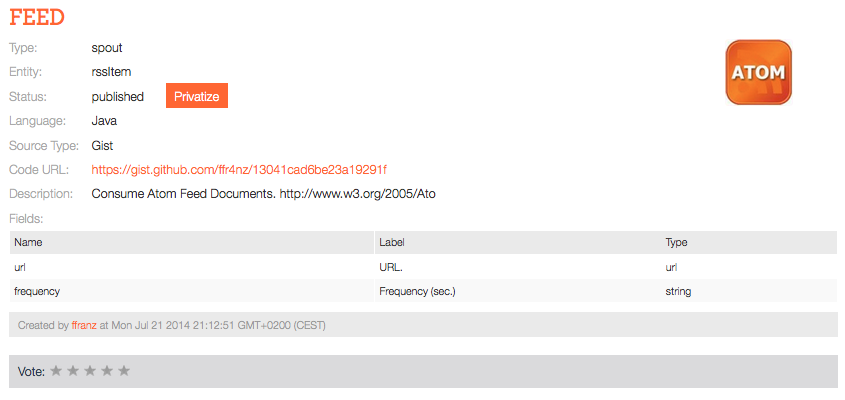
Sinfonier can get data from RSS and Atom Feeds using some spouts. As we know Sinfonier has a data model where every tuple is represented by JSON object. Spouts must transform information collected in a JSON Object.
Persistence
MongoDB
In order to start using MongoDB we'll use MongoLab service. MongoLab is a fully managed cloud database service featuring automated provisioning and scaling of MongoDB databases, backups, 24/7 monitoring and alerting, MongoDB GUI tools, and expert support.

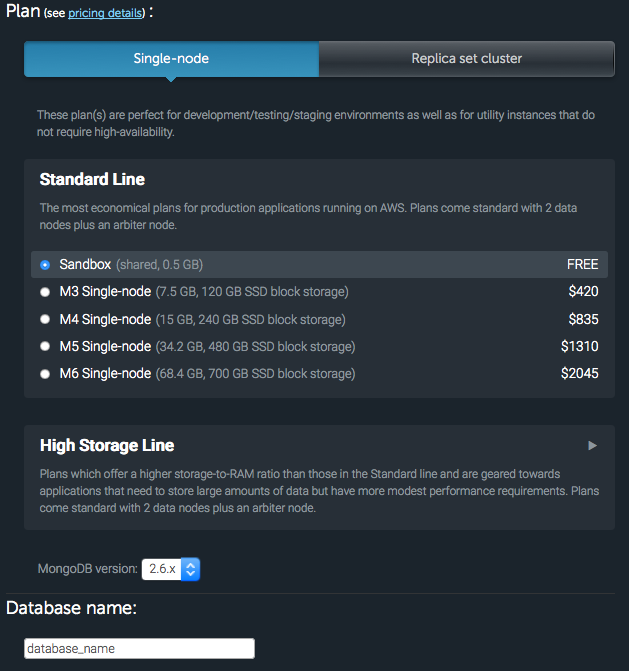
MongoDB offers a free plan called Sandbox. Users can create unlimited databases with a storage limit and without high-availability, this type of database are perfect for development/testing/staging environments.
MongoDB is a NoSQL database document-oriented database. MongoDB eschews the traditional table-based relational database structure in favor of JSON-like documents with dynamic schemas, making the integration of data in certain types of applications easier and faster. This is why is a really a good travel companion.
MongoDB stores data using a flexible document data model that is similar to JSON. Documents contain one or more fields, including arrays, binary data and sub-documents. Fields can vary from document to document. This flexibility allows development teams to evolve the data model rapidly as their application requirements change.
As Sinfonier implements data model based on JSON documents and creating a sandbox database in Mongolab is too easy: to integrate with MongoDB databases is extremely simple.
Creating an Account
First of all you need an account or create one filling this form properly: https://mongolab.com/signup/
Create new deployment

Single node Plan
Before you make any pay you can start using the sandbox plan included into Single Node MongoDB.
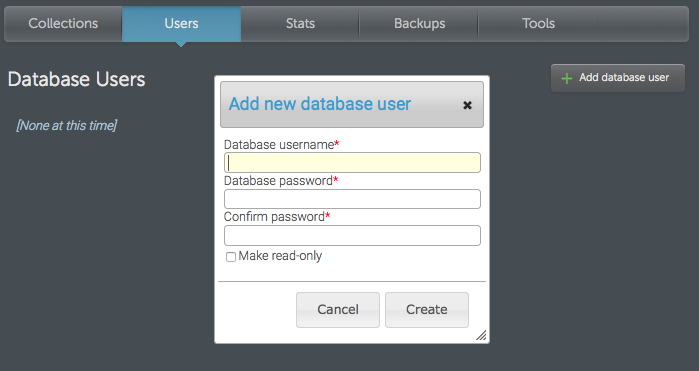
Add User
First step after your database is created is add a new user to access the database. Users can be read-only users.
Add a Collection
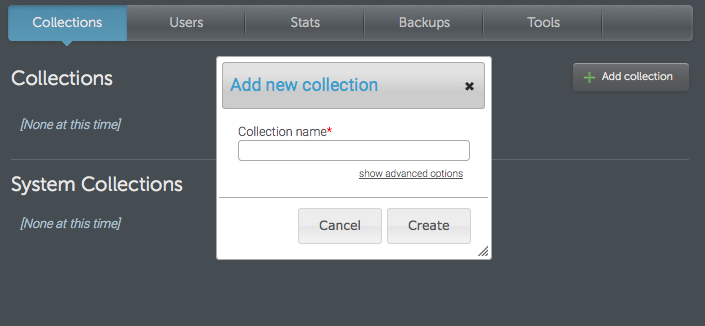
At this point we have a MongoDB database and one user to access it. It’s time to create our first collection where we insert each document.
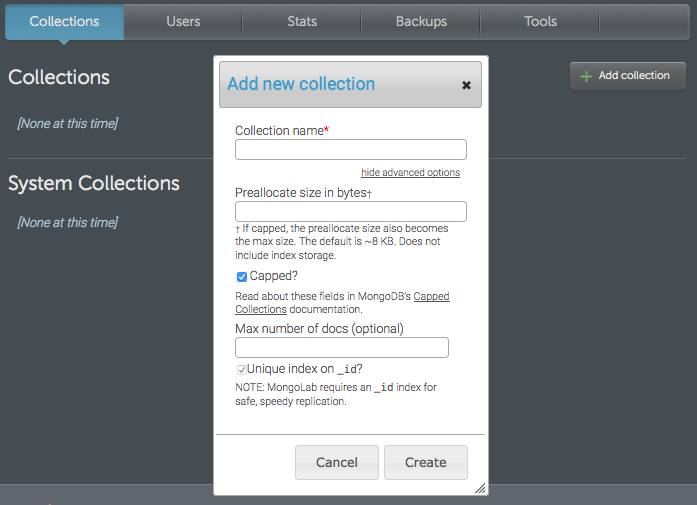
Due to space constraints collections can be created with disk space limit. By taking these measure we ensure our database will be available. Use this option if you are using this storage as a transitional place for your data or just as a log for your application.
MongoDB URI
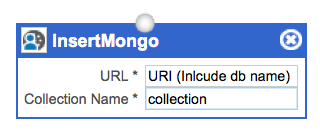
Time to use our database. Use a mongo database with Sinfonier is as easy as get the MongoDB URI and put it in the correct field. You found an URI similar as above in the detail database page.
mongodb://YourDBUser:YourDBPassword@ds049211.mongolab.com:49211/database_name
Transformation
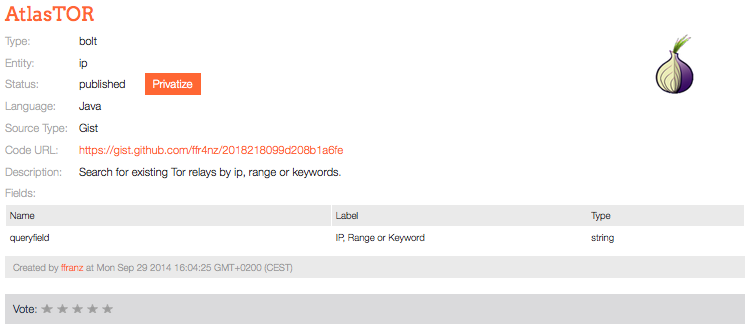
TOR Onionoo
Onionoo is a web-based protocol to learn about currently running Tor relays and bridges.
Onionoo itself was not designed as a service for human beings—at least not directly. Onionoo provides the data for other applications and websites which in turn present Tor network status information to humans.
The Onionoo service is designed as a RESTful web service. Onionoo clients send HTTP GET requests to the Onionoo server which responds with JSON-formatted replies.
Presentation
Instapush
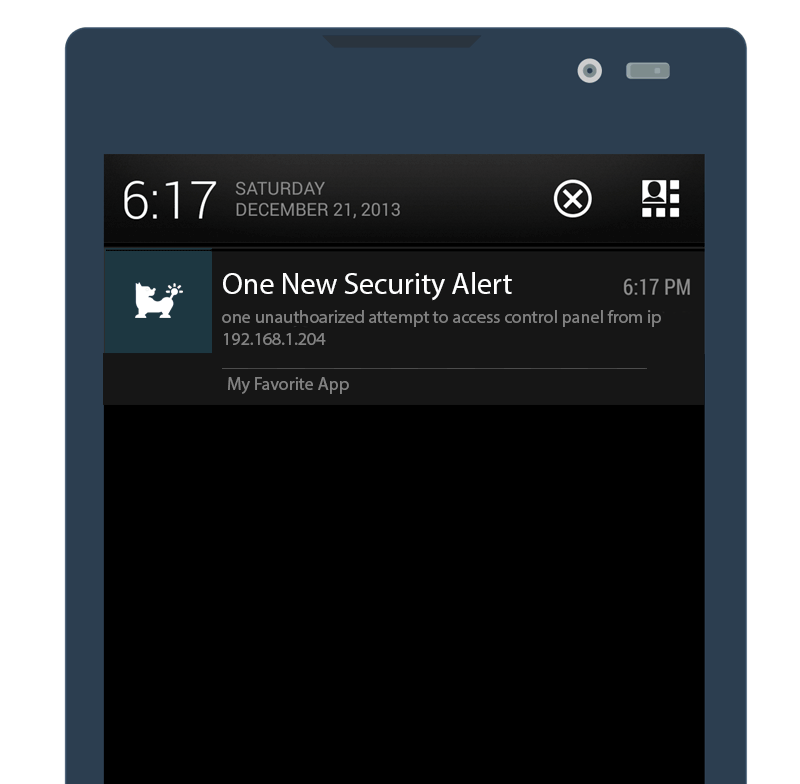
Instapush lets you receive instant push notifications on your phone or tablet. Instapush implements an API where services can sends notifications fired by specific triggers or events.
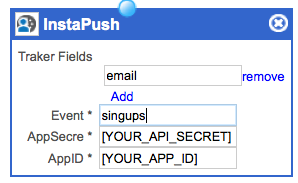
Sinfonier Instapush Drain allow users sending notifications associated to a specific event.
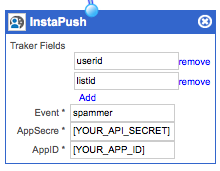
Fields description:
- Traker Fields are used to create your message. Sinfonier fill each traker with the content from Tuple fields received.
- Event identifies your event defined by application.
- AppSecre contents your API Secret Value.
- AppID identifies your application in InstaPush.
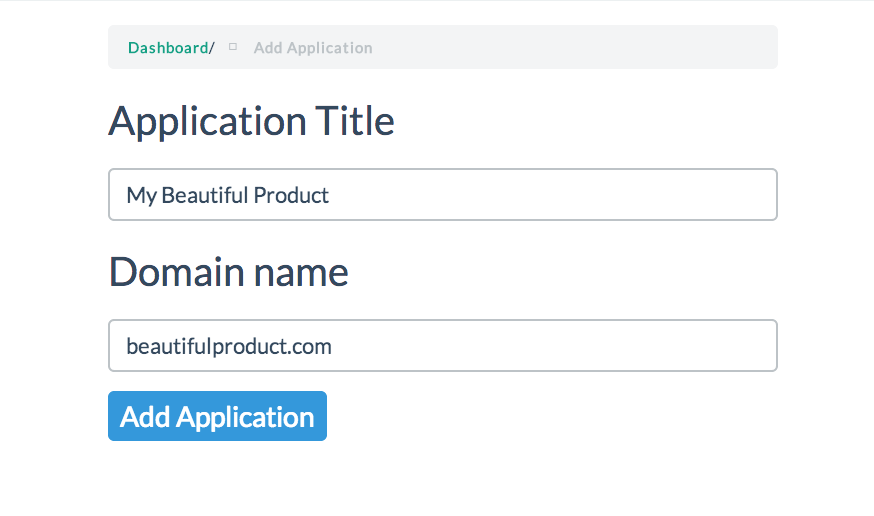
Before you can use this drain on Sinfonier you must to create an Instapush account and create an Application. Let see how to do it:
Create a free account here: https://instapush.im/auth/register.
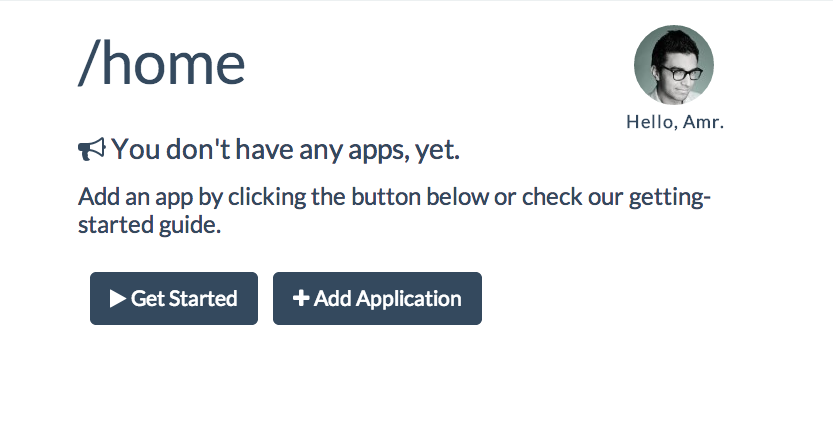
Add an application
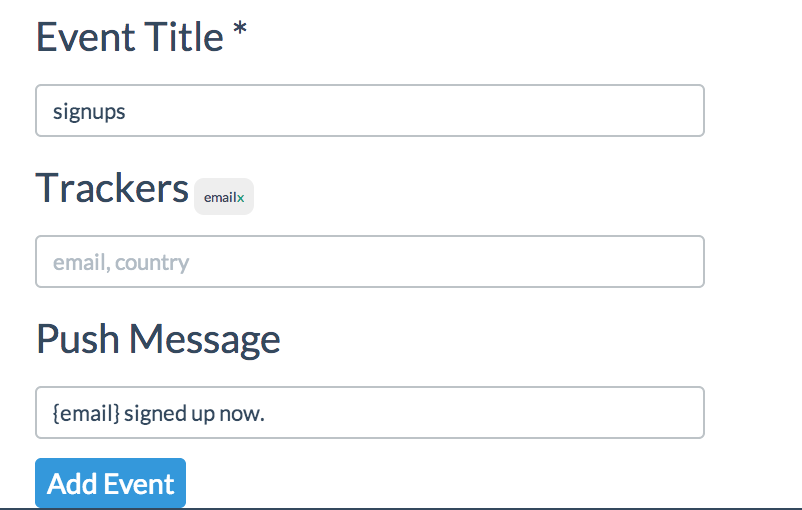
Create a new event
Everything in Instapush is event-based. So specify the event you want to watch add relevant data and submit.
Configure your Drain on Sinfonier
Once you have your event created it’s time to configure your Drain. Select every field in your tuple (json format) that you want to include as a tracker. Your field name must be equals your tracker field (at least for now, we are working in a new version where you can match trackers and fields with different names.)
Download mobile App
And start receiving notifications immediately! It's as simple as this. The App is available in Google Play for Android and App Store iOS.
